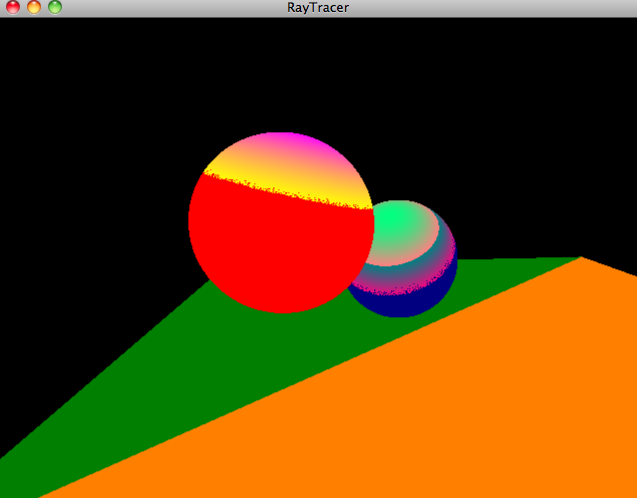
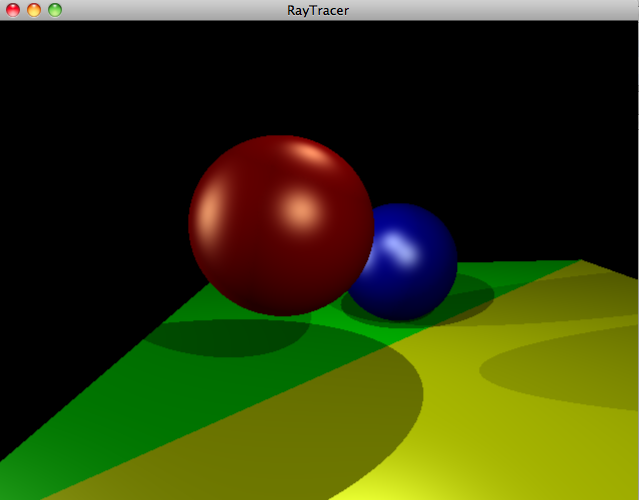
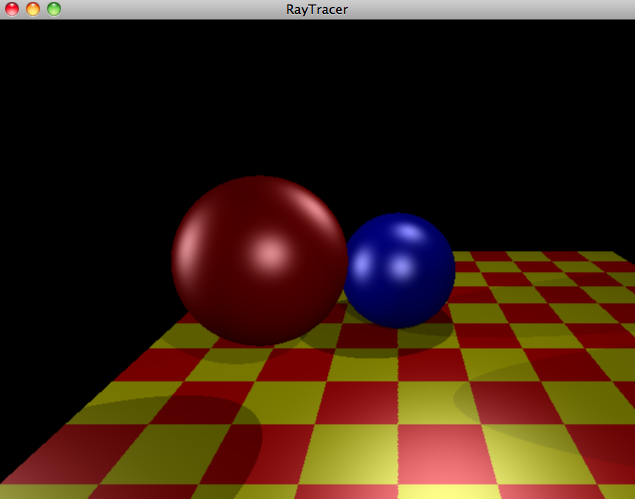
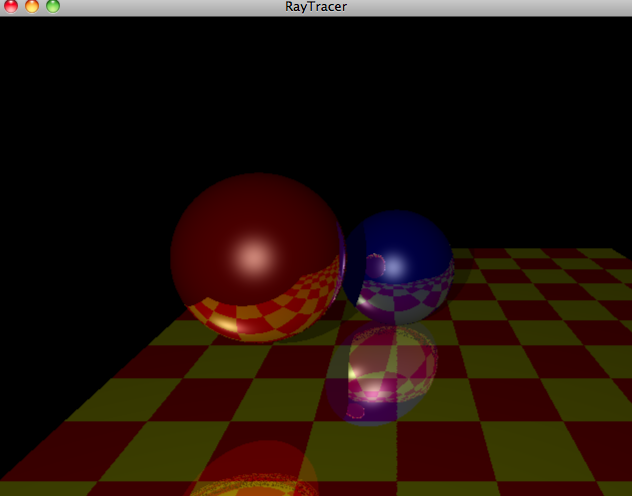
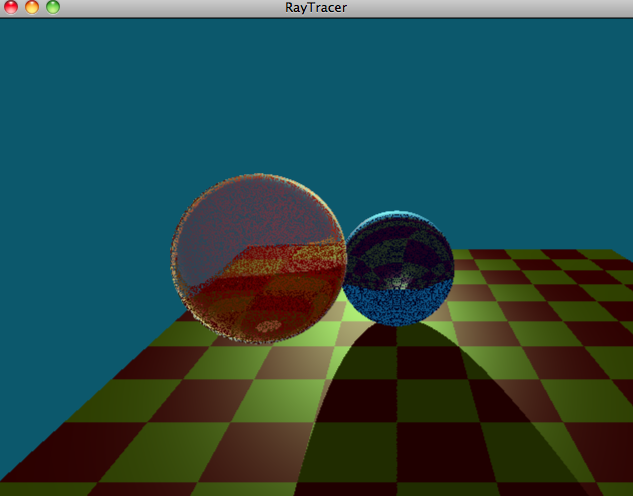
Ray Tracer Gallery
Collection of screen shots from my ray tracer project. Written in c++ from scratch.

Goal
The goal of the project was to recreate a scene like this one via ray tracing.
Next I'll walk you through my process visually with a series of screenshots of major milestones and issues that I ran into.

Test Image
Before creating a ray tracer I needed to have a rough estimate of the locations in space of the objects I would be rendering. In order to approximate some values to use in my ray tracer, I modeled the scene with C# and Microsoft XNA.

Goal 1: Objects
This was the first image my ray tracer produced (not counting debugging images to achieve this one). Using C++ I wrote a basic ray tracer that could handle two kinds of primitives: spheres and triangles. Here you see the basic primitives rendered in solid color because I hadn't yet implemented shading.

Shading Bug
While working on basic shading, this 'Easter-egg' effect was accidentally produced.
The error here was with how I computed the diffuse and specular lighting components: I calculated them by taking a cross-product when I should have performed simple multiplication. Next time I would need to be more explicit and differentiate between my Matrix Math library functions and regular operations.

Phong Shading
The correct implementation of Phong shading after I corrected the bug from the previous image. I applied shading to the floor triangles as well.

Procedural Texture
Using a algorithm I applied a texture to the triangles that is calculated at runtime. No texture image files needed!

Reflections
Here reflections have been implemented. Reflections occurs when an original ray hits a reflective surface and then another ray is spawned in a direction based off the angle of the original ray.

Transmission bug
Ran into a bug with transmission. It was an issue with the reflection rays (rays produced when a parent ray collides with an object that can transmit it) being calculated incorrectly.

Transmission
Transmission working correctly after addressing the previous issue.

Super Sampling 8 rays
In this case, 8 light rays are spawned per-pixel of the image, then their results are averaged together. Produces a slightly smoother, more accurate image.
Super sampling produces a better image but also takes longer to produce an image because the number of calculations increases.

Super Sampling 16
Super sampling again, this time with 16 rays.
The differences are slight but if you look at the edges of the transparent sphere you can notice that this image is even smoother than the super sampling 8 image, and even more so than the original, single ray per-pixel image.

Super Sampling Blur
In this image super sampling is happening but the rays' directions are being altered slightly to produce a blur effect.

Final Product
Here is an image from my finished ray tracer. It showcases use of shadows, reflections, and procedural textures.


